
Peel and Stick Tiles: Do They Actually Last? An Honest Buying Guide
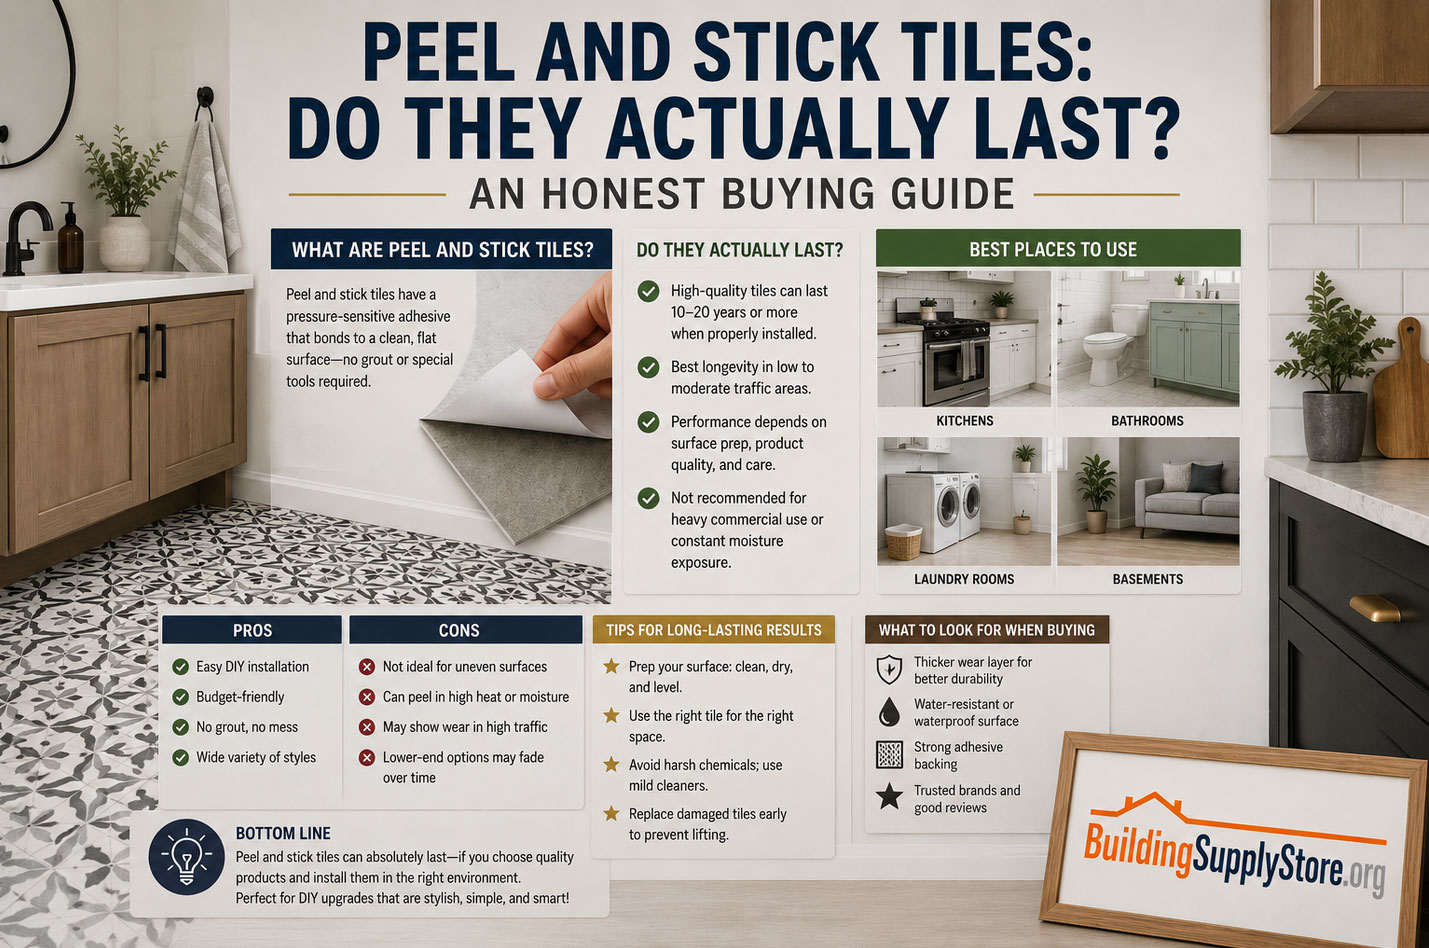
Peel and stick tiles have a reputation problem. Scroll through home renovation forums and you'll find two camps shouting past each other: one insists these tiles peeled up within a month, and the other swears theirs have survived five years of dog claws and dropped cast iron pans without a single curled edge. Both groups are telling the truth. The difference almost never comes down to luck. It comes down to what they bought, where they put it, and how they prepped the floor underneath it.
This guide skips the marketing copy and the horror stories alike. It's a straight answer to the question people actually type into Google at 11 p.m. while standing in a half-renovated bathroom: will this stuff actually hold up, or am I wasting a weekend and eighty dollars?
What Peel and Stick Tiles Actually Are
"Peel and stick tile" is a catch-all term, and that's part of the confusion. Under that umbrella sit several genuinely different products.
The cheapest tier is thin vinyl sheet flooring cut into tile-sized squares, often under 1.2mm thick, with a printed pattern layer and a basic adhesive backing. This is the stuff sold in bulk bins for under a dollar a square foot, and it's the version responsible for most of the internet's peeling complaints.
A step up is luxury vinyl tile (LVT) with a self-adhesive backing — thicker, usually between 2mm and 5mm, with a real wear layer on top that resists scuffing and UV fading. This category behaves much more like traditional flooring.
Then there's peel and stick mosaic tile, typically small glass, metal, or composite pieces mounted on a mesh backing with adhesive already applied, marketed mainly for kitchen backsplashes rather than floors.
Each of these products ages differently, which is why "do peel and stick tiles last" doesn't have one universal answer. The honest version of that question is really "does this specific type of peel and stick tile, installed this way, in this room, last."
The Honest Answer: How Long Do They Really Last?
Under Good Conditions
A quality peel and stick LVT product, properly installed over a clean, dry, smooth subfloor in a low-moisture room, can reasonably last 5 to 10 years, and sometimes longer with light foot traffic. Manufacturers of premium lines will often back that up with warranties in the 5 to 15 year range, though warranty language usually excludes anything related to improper installation, which does a lot of quiet work in the fine print.
In Real Homes With Real Feet
The more common outcome, especially with budget vinyl sheet-style tiles, is 1 to 3 years before edges start lifting, seams start showing dirt lines, or a few tiles simply give up near high-traffic pivot points like in front of a sink or a doorway. That's not necessarily a failure of the product category — it's usually a mismatch between a thin, budget material and a job it was never designed for, like a mudroom floor or a rental kitchen with heavy appliance traffic.
The pattern worth remembering: peel and stick tile is not one product with one lifespan. It's a spectrum, and where you land on it depends on money spent, surface prep, and room choice, roughly in that order of importance.
What Actually Determines Lifespan
Five factors decide whether your peel and stick project becomes a five-year success story or a six-month regret. Skipping any one of them tends to undercut the other four.
Subfloor condition. This is the single biggest predictor of failure, and it's the one people skip most often. Peel and stick adhesive bonds to a surface, not to the idea of a surface. Dust, old wax residue, uneven patches, or a subfloor with even slight moisture will prevent a proper bond no matter how expensive the tile is.
Material thickness, measured in mils. A "mil" is one-thousandth of an inch, and it's the spec that tells you more about durability than almost anything else on the packaging. Tiles under 8 mils are essentially decorative film and wear through quickly in traffic areas. Tiles in the 12 to 20 mil range hold up to normal residential use. Commercial-grade peel and stick, often 20+ mils, is built for the kind of abuse a rental unit or home office actually delivers.
Adhesive quality. Cheaper products often use a pressure-sensitive adhesive that's genuinely aggressive on day one and noticeably weaker by year two, especially with temperature swings. Better products use adhesives engineered to stay tacky through seasonal expansion and contraction, which matters more than most buyers realize until their kitchen floor edges start curling every winter.
Room environment. Moisture is the enemy of every adhesive-backed product. Bathrooms with poor ventilation, laundry rooms, and basements with any hint of dampness are the rooms where peel and stick tile fails fastest, regardless of price point. Sunlight matters too — a mudroom with a south-facing door gets more UV exposure than people expect, and cheap vinyl fades and becomes brittle under it.
Installation technique. Rolling each tile firmly with a flooring roller (not just pressing with your hands), staggering seams correctly, and letting tiles acclimate to room temperature for 24 to 48 hours before installation all measurably extend lifespan. This step gets skipped constantly because it's boring, and it's also the step most responsible for the difference between a five-year floor and a five-month floor.
Where Peel and Stick Tiles Genuinely Excel
- Rental apartments and dorms, where the whole point is a reversible, deposit-safe upgrade rather than permanence
- Low-traffic accent walls or backsplashes, where the tile isn't taking daily abuse underfoot
- Closets, laundry nooks, and small powder rooms with minimal moisture and light use
- Temporary staging for home sales, where a tile only needs to look good for a few months of showings
- Budget-conscious first apartments, where a $150 kitchen refresh matters more than a 20-year floor
In these situations, peel and stick tile isn't a compromise. It's the correct tool for the job.
Where They Consistently Struggle
- Full bathrooms with showers or tubs, where humidity undermines adhesive bonds over time
- Kitchens with heavy foot traffic and rolling chairs, which stress seams faster than almost any other room
- Mudrooms and entryways, where grit, moisture, and constant foot friction combine into the worst-case scenario
- Basements, unless the concrete slab has been properly sealed and tested for moisture
- Anywhere a previous flooring material left an uneven or textured surface that wasn't sanded or leveled first
If your project falls into this list, that doesn't mean skip peel and stick entirely — it means budget for the premium 20-mil commercial-grade products and take subfloor prep seriously, because the margin for error is much smaller here.
Peel and Stick vs. Traditional Tile: A Fair Comparison
It's worth being honest about what you're actually trading off, because "lasts less long" isn't automatically a losing proposition.
Traditional ceramic or porcelain tile, properly installed with thinset and grout, can last 20 to 50 years and handles moisture, heat, and heavy traffic without much complaint. But it requires cutting tools, mortar, grout sealing, and usually a professional for anything beyond a small accent area, and it's essentially permanent — removing it means demolition.
Peel and stick tile trades that longevity for speed, reversibility, and cost. A single motivated person can tile an average kitchen floor in a weekend with no specialty tools, for roughly a quarter to a third of the material and labor cost of traditional tile. It can also be removed cleanly (with quality products) if you rent, or if your design taste changes before the floor wears out anyway.
Neither option is objectively better. The honest framing is that traditional tile is an investment in permanence, and peel and stick is a bet on flexibility. The right choice depends on whether you own the space, how long you plan to stay, and how much abuse the room realistically takes.
Signs You're Buying a Good Product (Not a Regret)
Before adding anything to your cart, check for these on the packaging or product description:
- Mil thickness of 12 or higher, ideally 20+ for kitchens, entryways, or rentals with turnover
- A stated wear layer, not just a printed pattern under a clear film — real LVT products list this specifically
- Water-resistance or waterproof claims backed by a spec sheet, not just marketing language on the box
- A warranty of at least 3 to 5 years for residential use, which signals the manufacturer trusts the adhesive over time
- Reviews that specifically mention edge lifting or curling after months of use — this is the single most useful thing to search for before buying, since it's the most common failure mode
Skipping this five-minute check is where most disappointing purchases start. The tile that looks identical in a thumbnail photo can be a completely different product once you compare mil thickness and wear layer specs.
How to Install Them So They Actually Last
Good material choice only gets you halfway there. Installation technique closes the gap.
Start with the subfloor, not the tile. Remove old flooring down to a clean, structurally sound surface. Sand down high spots, fill low spots with a leveling compound, and vacuum thoroughly. Any texture or debris left behind will telegraph through the tile and create a weak point in the adhesive bond.
Test for moisture. Tape a square of plastic sheeting to the subfloor and leave it for 24 hours. If condensation forms underneath, the subfloor is too damp for peel and stick installation until that's resolved.
Let tiles acclimate. Leave the sealed boxes in the room where they'll be installed for at least 24 hours before opening. Vinyl expands and contracts with temperature, and installing tiles that haven't adjusted to room conditions is a common, invisible cause of early curling.
Plan your layout before peeling anything. Dry-lay a row across the room to check how cut pieces will land at the walls, and find the room's center line so the pattern reads evenly rather than ending in an awkward sliver at one wall.
Roll every tile, every time. A hand roller or rolling pin applied firmly across the full surface of each tile — especially the edges and seams — forces out air bubbles and maximizes adhesive contact. This single step, more than any other, separates floors that last from floors that don't.
Avoid heavy furniture and traffic for 24 to 48 hours after installation, giving the adhesive time to fully cure before it's tested.
Real Talk: The Most Common Failure Points
Most peel and stick disappointments trace back to one of these four issues, almost always in combination:
Curling edges near doorways and high-traffic paths. This is usually a subfloor prep issue, an adhesive quality issue, or both, and it tends to show up first at the exact spots where feet pivot or drag.
Yellowing or fading near windows. Cheaper vinyl with a thin printed layer and no UV-resistant coating discolors faster than people expect, especially in south-facing rooms.
Grout-line staining on printed-grout-line styles. Some budget tiles fake the look of grout with a printed line rather than an actual textured seam, and that printed area can pick up dirt and grease differently than the surrounding tile, creating a visible grid pattern over time.
Bubbling from trapped moisture. Installing over a subfloor that wasn't fully dry, or in a room with chronic humidity, traps moisture under the adhesive layer and eventually pushes tiles up from underneath — a failure mode that has nothing to do with the tile's quality and everything to do with the room it was installed in.
Where to See and Buy Them in Person
Photos online rarely capture texture, sheen, or true color accurately, and peel and stick tile is a category where that gap matters — a floor that looks like natural stone in a product photo can look distractingly plasticky in person. Visiting a showroom before buying, especially for a full room, is worth the trip.
Major retailers with in-store flooring displays and return policies worth checking before you commit include The Home Depot, headquartered at 2455 Paces Ferry Rd SE, Atlanta, GA 30339, Lowe's, headquartered at 1000 Lowes Blvd, Mooresville, NC 28117, and Floor & Decor, headquartered at 2500 Windy Ridge Parkway, Atlanta, GA 30339. All three operate hundreds of local stores with flooring sections where sample boards and full display panels are usually available to touch and compare before buying — worth doing regardless of which brand ends up in your cart, since mil thickness and texture differences are genuinely hard to judge from a phone screen.
Trusted Resources for Further Reading
For readers who want to go deeper on flooring specs, moisture testing, and installation standards beyond what any single retailer will tell you, a few independent sources are worth bookmarking: Consumer Reports for unbiased flooring durability testing, This Old House for detailed installation walkthroughs from working contractors, Family Handyman for practical subfloor prep guidance, and Better Homes & Gardens for design-focused comparisons across flooring styles.
Frequently Asked Questions
Do peel and stick tiles work in bathrooms? Only in low-moisture areas like a powder room away from the shower or tub. Full bathrooms with regular water exposure are the riskiest environment for adhesive-backed flooring, and even premium products carry a higher failure rate there than in dry rooms.
Can you put peel and stick tile over old tile? Sometimes, if the existing tile is flat, clean, and free of texture or grout lines deep enough to telegraph through. Heavily textured or uneven old tile should be leveled first, or the new tile's adhesive won't bond evenly.
How long does peel and stick tile take to install? A typical kitchen or bathroom floor can be finished in a single weekend by one person, including subfloor prep, once the tiles have acclimated to room temperature for 24 hours beforehand.
Is peel and stick tile actually waterproof? Some LVT-style products are genuinely waterproof at the tile level, but the seams between tiles are rarely fully sealed, which means standing water can still seep underneath over time. "Water-resistant" is a more accurate description for most installations than "waterproof."
Can you remove peel and stick tile without damaging the floor underneath? Quality products designed for rentals are usually formulated for clean removal, but budget adhesives can leave residue or pull up surface layers of the subfloor, especially if left in place for several years. Testing a corner tile before committing to a full room is a reasonable precaution.
The Bottom Line
Peel and stick tile isn't a scam, and it isn't a miracle floor either. It's a genuinely useful product that gets misjudged because people compare a $0.79-per-square-foot bargain bin tile against the performance expectations of $8-per-square-foot porcelain, and then blame the entire category when the cheap option underperforms.
The realistic version of this decision: buy the thickest, best-reviewed product your budget allows, prep the subfloor like it's the most important step (because it is), install it with actual care instead of rushing the last row before dinner, and keep it out of rooms with heavy moisture or heavy traffic unless you've paid for commercial-grade material. Do those four things, and there's no good reason a peel and stick floor can't look sharp for five years or more. Skip them, and even the best tile on the market will start arguing with your floor by spring.